


 I have recently become very crafty! Ok, “very” is an overstatement. So maybe I have just done a project or two.
I am so inspired by the lifestyle brand A Beautiful Mess and have wanted to try ALL THE THINGS they post tutorials for on their blog. And even though their projects are doable, my attempts have mostly remained a delusion of grandeur until I found myself at Target with yet another armload of holiday-themed decorative garlands.
At Christmastime, ABM (as their friends – like me! – call them) had posted a tutorial on making a “7 Swans A Swimmin’” garland with some oven-baked clay and a few baubles. Instead, I whipped up a few flapping flamingos instead of swimming swans and successfully created my own version.
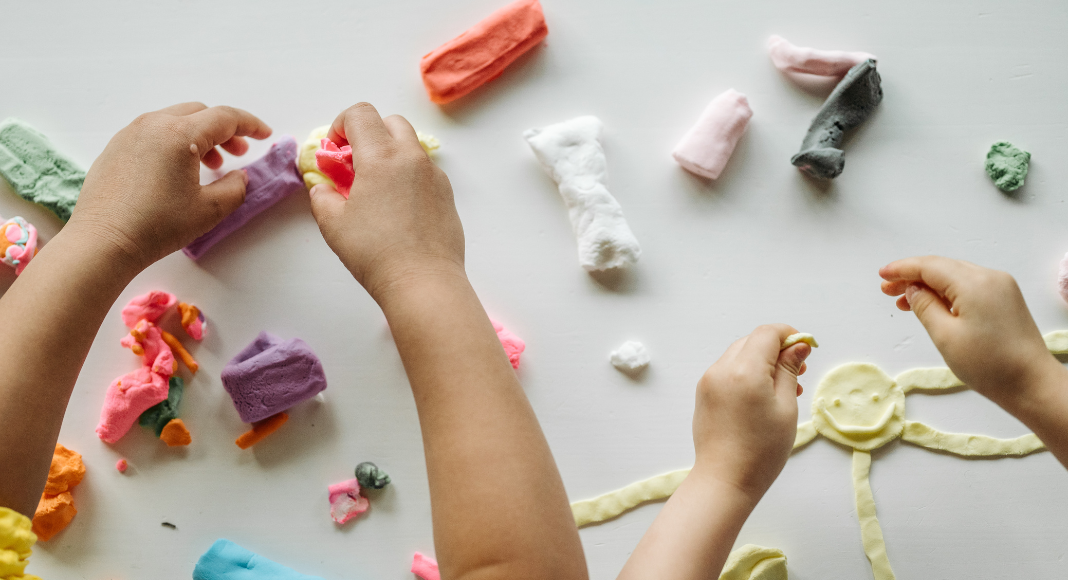
Inspired by my own project (and my insatiable need to play with clay), my kiddo wanted to make her own version. While the oven-baked clay was pretty simple to work with, it was not easy enough for a six-year-old to steer the project independently. So, for her version, we turned to Crayola and their super easy air-dry clay.
The instructions for this project are pretty loose, so here is a supply list.
- Crayola “Model Magic” Air Dry Clay (any air dry clay will likely do, but we used Crayola and the dry times will be based on that).
- Glitter Glue
- Acrylic Paint
- Adhesive Back Magnets
- String
- Embroidery Needle
- Bamboo Skewer
- Cookie Cutters
- Rolling Pin
We decided to make both a heart-shaped garland and individual fridge magnets so we could give them out as gifts. I laid down a few sheets of tin foil on our table. Beyond that, I did not need to do much prep work.
The clay stayed together nicely enough for my two-year-old to mash a fistful and not destroy my living room, so this step is pretty child-friendly. Once ready, roll out chunks and cut them with a cutter, just like cookies. You don’t necessarily need a rolling pin for this step. You could even flatten it with your hands. However, note that the clay WILL dry with the finger impressions. A rolling pin will help keep the shapes the same thickness (which I recommend as dry time can vary vastly depending on the thickness of the clay).
At first, we used a heart cookie cutter (which obviously has very little detail), but later, we used a unicorn cookie cutter. As long as you cut through the clay, it should hold the shape well. (The ABM tutorial has a good tip about using the eraser end of a pencil to gently tap out the clay from the cutter if you’re worried about warping the shape). Once you’re making a garland, use your skewer to poke holes for the string once you’re done molding. We made hearts, so the hole placement was pretty straightforward, but if you’re doing an awkward shape, consider how the piece will hang before deciding where to make your holes.
We let our shapes dry on some paper plates in an out-of-the-way spot. The hearts were thicker and took about two days to completely dry. The shapes we made for magnets were rolled out thin and ready overnight. The air-dried clay will ultimately feel like foam when completely ready (unlike harder clay) but will not lose shape when you press it.
You can use almost any paint, glitter, or glue for these. We used pink clay for our hearts, so we decorated it with some glitter glue pens (a good choice if, as I did, you want to let the kiddo do most of the project themselves). We painted the magnets with some acrylic paint. I will say that it took about two coats of paint on the white clay to get rid of all the streaks (if that matters to you).
You will probably need to use a needle to thread the garland string. I used an embroidery needle and embroidery floss. Yarn or baker’s twine would work, too. Anything you can thread through a needle. For the magnets, I initially got out my hot glue gun but was psyched to see I would not be needing it. The adhesive on the magnets (at least the ones I included in the supply list) are strong enough.
Pretty simple, right? For the most part, I let my six-year-old craft her little heart out. It made for a peaceful afternoon! Until the next day, she repeatedly asked about the shapes’ drying status. Can’t win ’em all.


