


You walk into your basement and brush past the dresser that used to belong to your grandmother. It is solid wood and has deep drawers that can probably store a ton of clothes, but it has wear and tear and a musty odor. It has been accumulating layers of dust for the past several years and may even be home to a spider or two, but you can’t bear to get rid of the dresser because it holds a very special place in your heart.
It’s a bit of an eyesore, but it has potential.
But where on earth do you start, and what do you do with it? The garbage is most definitely not an option. Grandma would come back to haunt you for that. And then you remember a specific blog post. THIS blog post – detailing how to refinish and transform that stinky yet beloved piece of furniture from drab to fab.
Let’s break it down.
1. Clean your furniture.
I like to use dish soap and some warm water or a mixture of one part vinegar to 10 parts water. Get into all the nooks and crannies using a wet rag. You want to take out the drawers and give everything a good wipe-down. Flip the piece over and dust off any cobwebs hanging out under the furniture and between the legs. Use a tack cloth, microfiber rag, or shop rag to accomplish this. Make sure whatever you use is lint-free because you don’t want to paint over little pieces of lint.
Cross your fingers and say a prayer there are no little surprises like bed bugs. That is a deal breaker for me, and we will not be flipping a bug-infested piece of furniture, thank you very much!
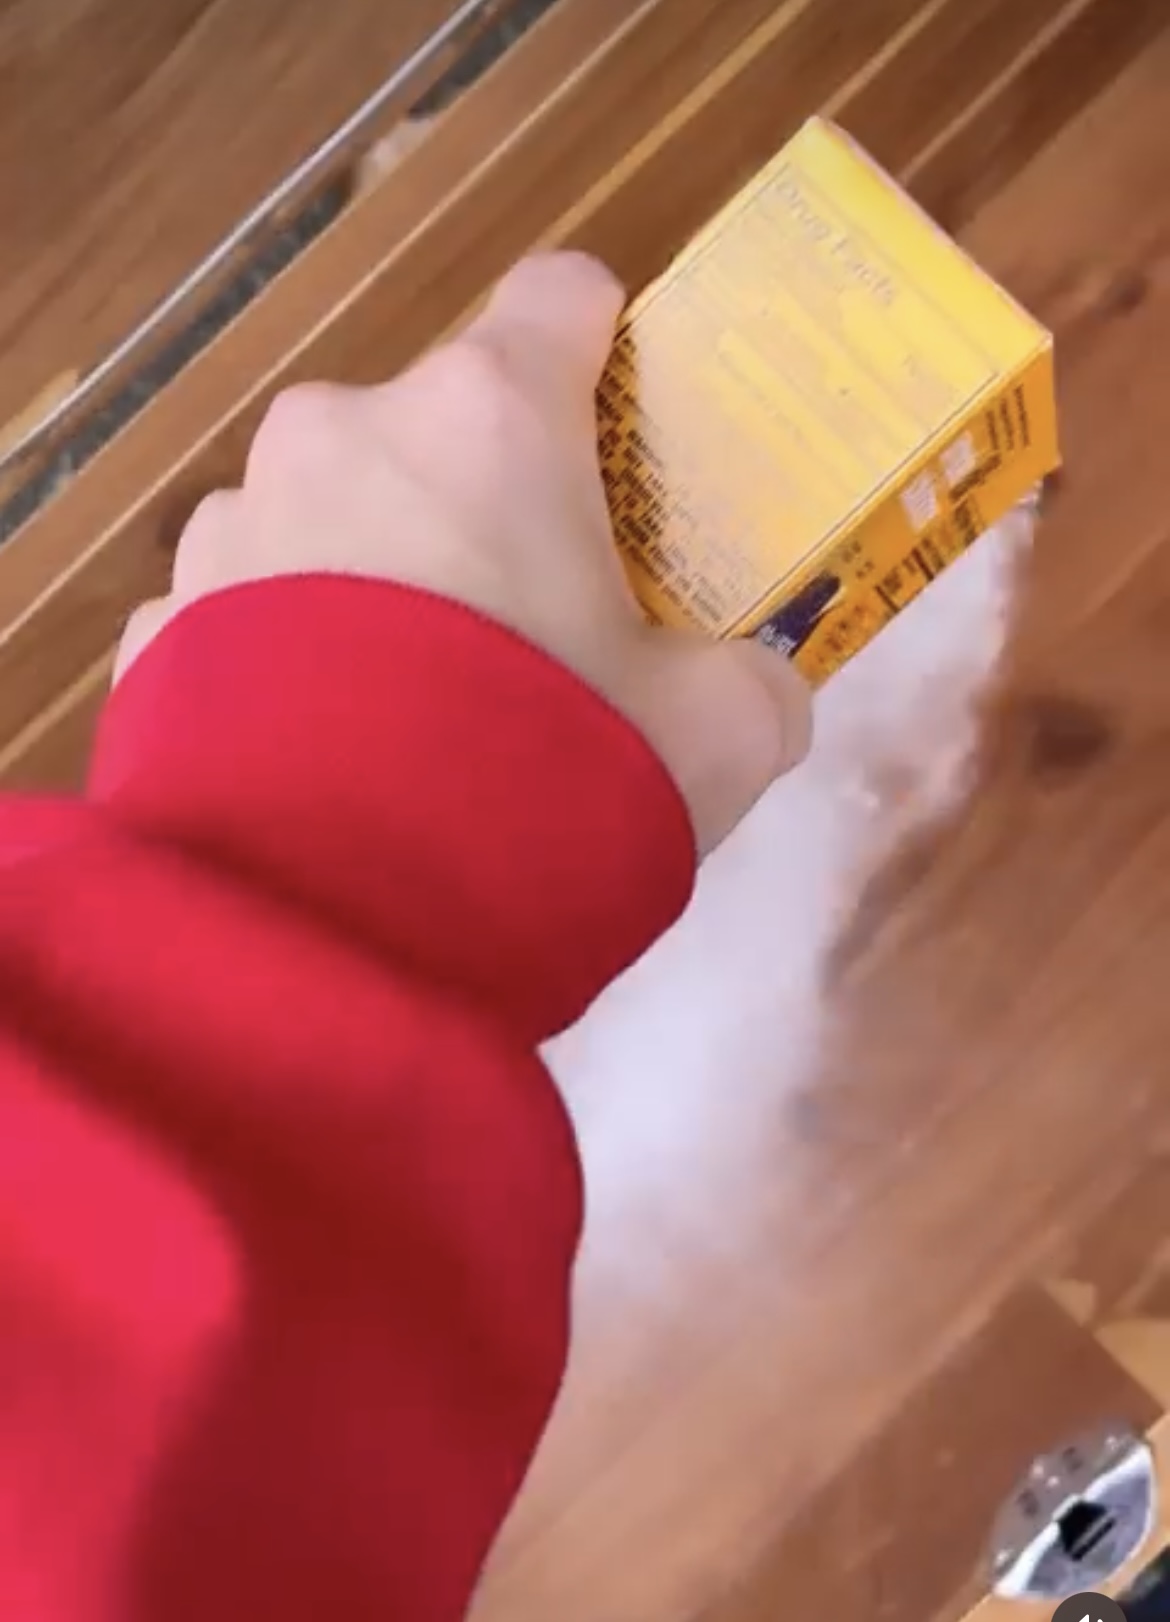
If you are working with something with a musty odor, you can also liberally pour some baking soda into the drawers and let that sit. The longer, the better, in my opinion. Then, of course, vacuum the baking soda out, and voila! No more odors.
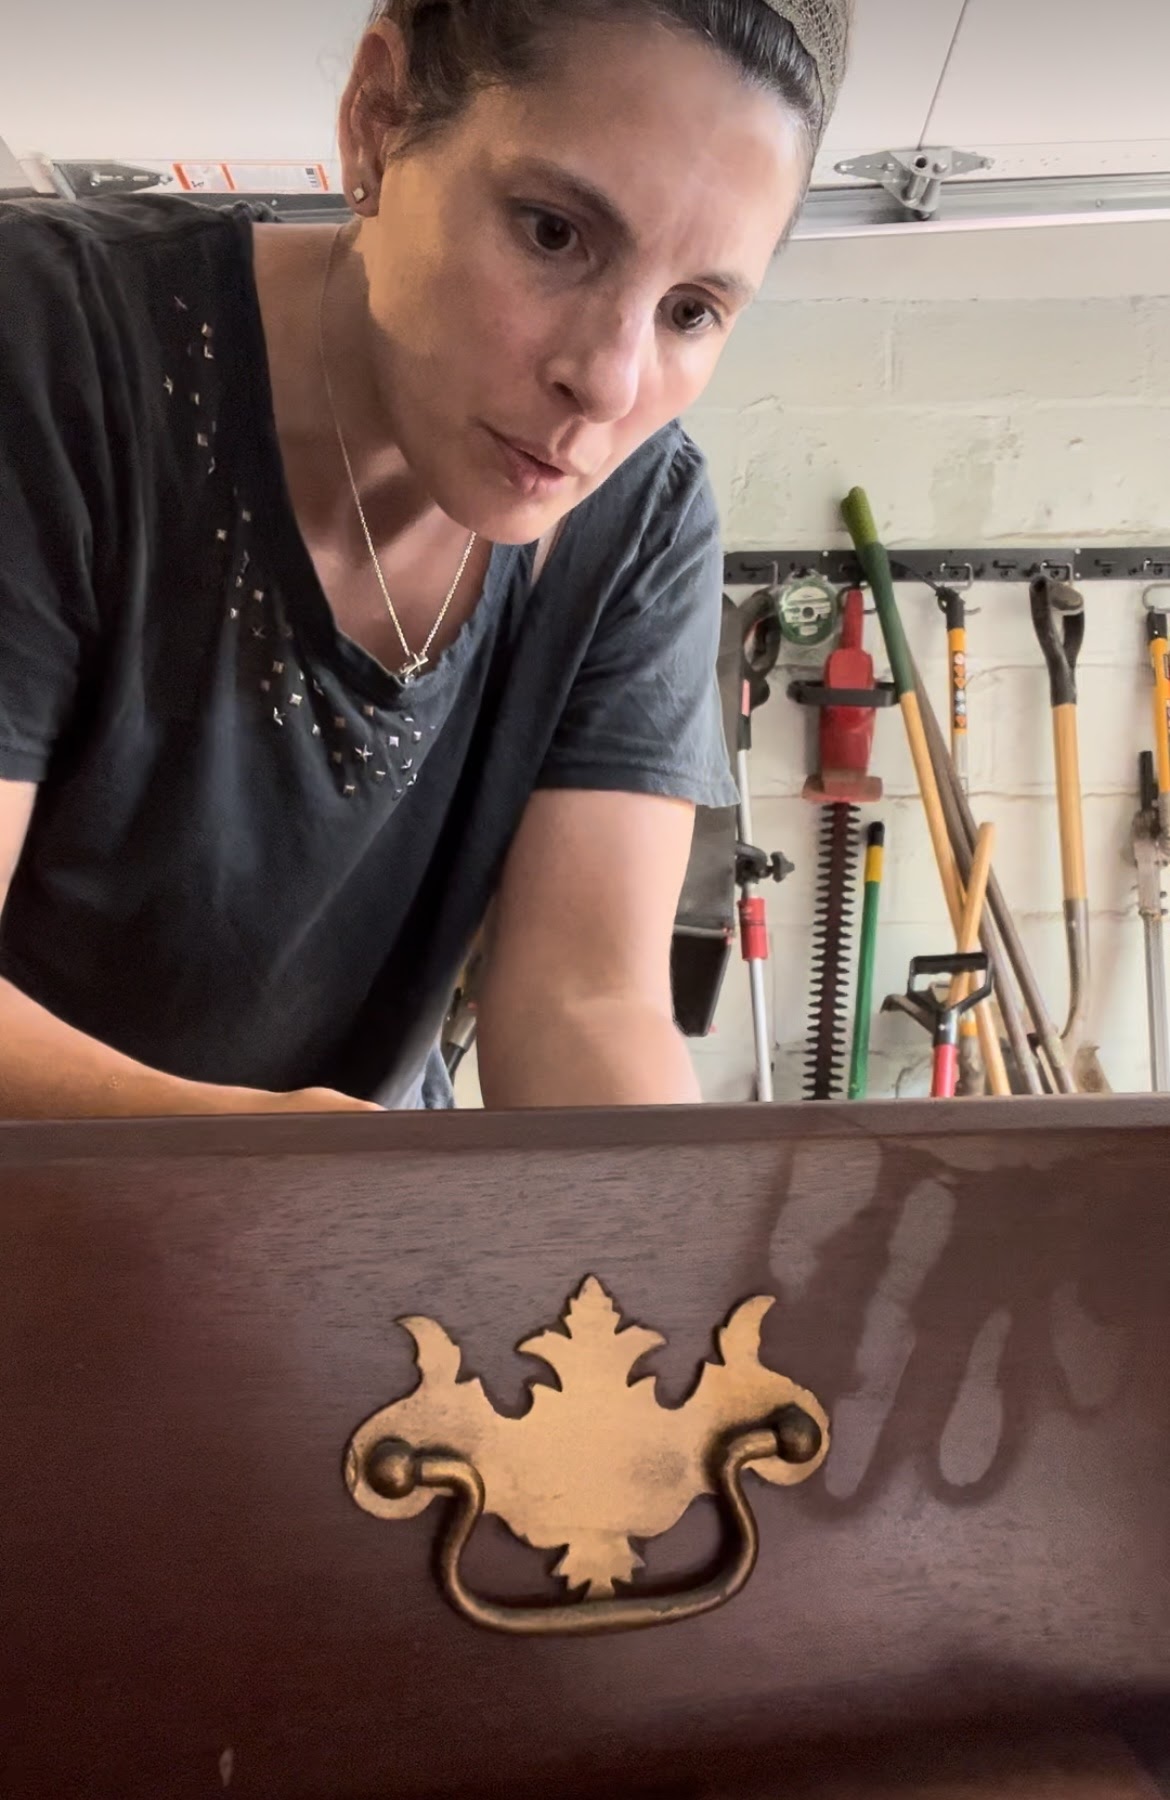
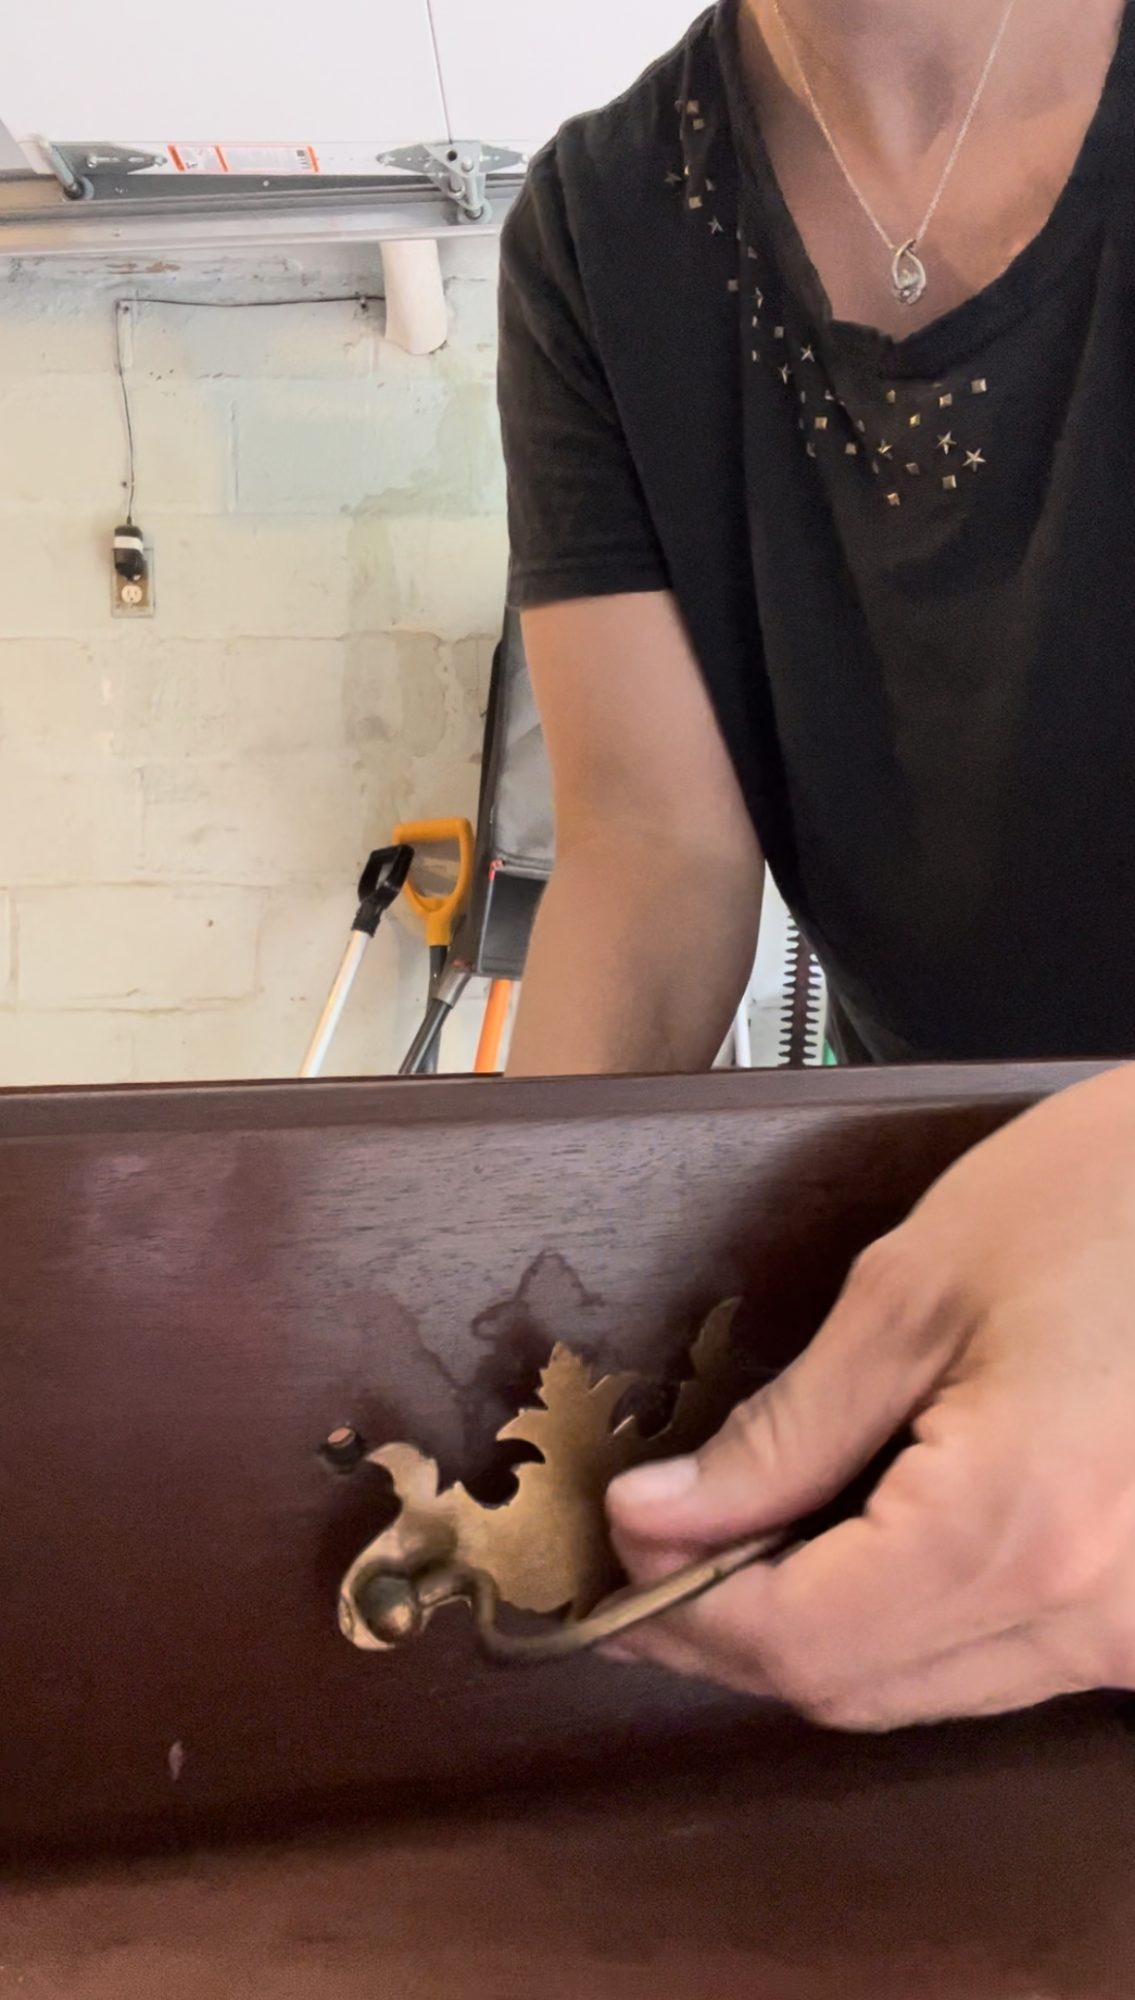
2. Remove the hardware.
Using a screwdriver, remove the old hardware. You can place the pieces into a clear bag and label directly on the bag “top right drawer,” that way, you know exactly which hardware piece goes to which drawer if you plan on reusing them.
I generally like to save my hardware even if I’m not reusing them for that particular piece because there may come a time down the road when I will use it on another flip.
3. Make repairs, if necessary.
If this is your first flip, you may be intimidated by making anything more than a minor repair. Most scratches on furniture can easily get sanded out. However, you may have something a little deeper that needs to be filled in with wood filler or bondo. Bondo is a professional strength filler for making repairs. It has a chemical odor, so break out your pandemic N95 and slap on a pair of gloves for protection. If this is your first flip, wood filler is the less intimidating way to go.
4. Enter the sandman.
Like Mariano Rivera, this (sanding) step is the ninth inning closer to all that prep work you just did. Do not skip this step even if you are “just” painting your piece. The reason is that your paint will need something to stick to, and you will achieve a smoother finish if you scuff sand your furniture.
Many paints out there claim they are primer and paint-in-one, but from my experience, giving your piece a scuff sand can prevent bleed-through and helps your primer adhere nicely to your furniture.
Ensure you take out your microfiber cloth after sanding your furniture. Again, you do not want to paint over little bits of sand because that will prevent you from getting a smooth, clean finish.

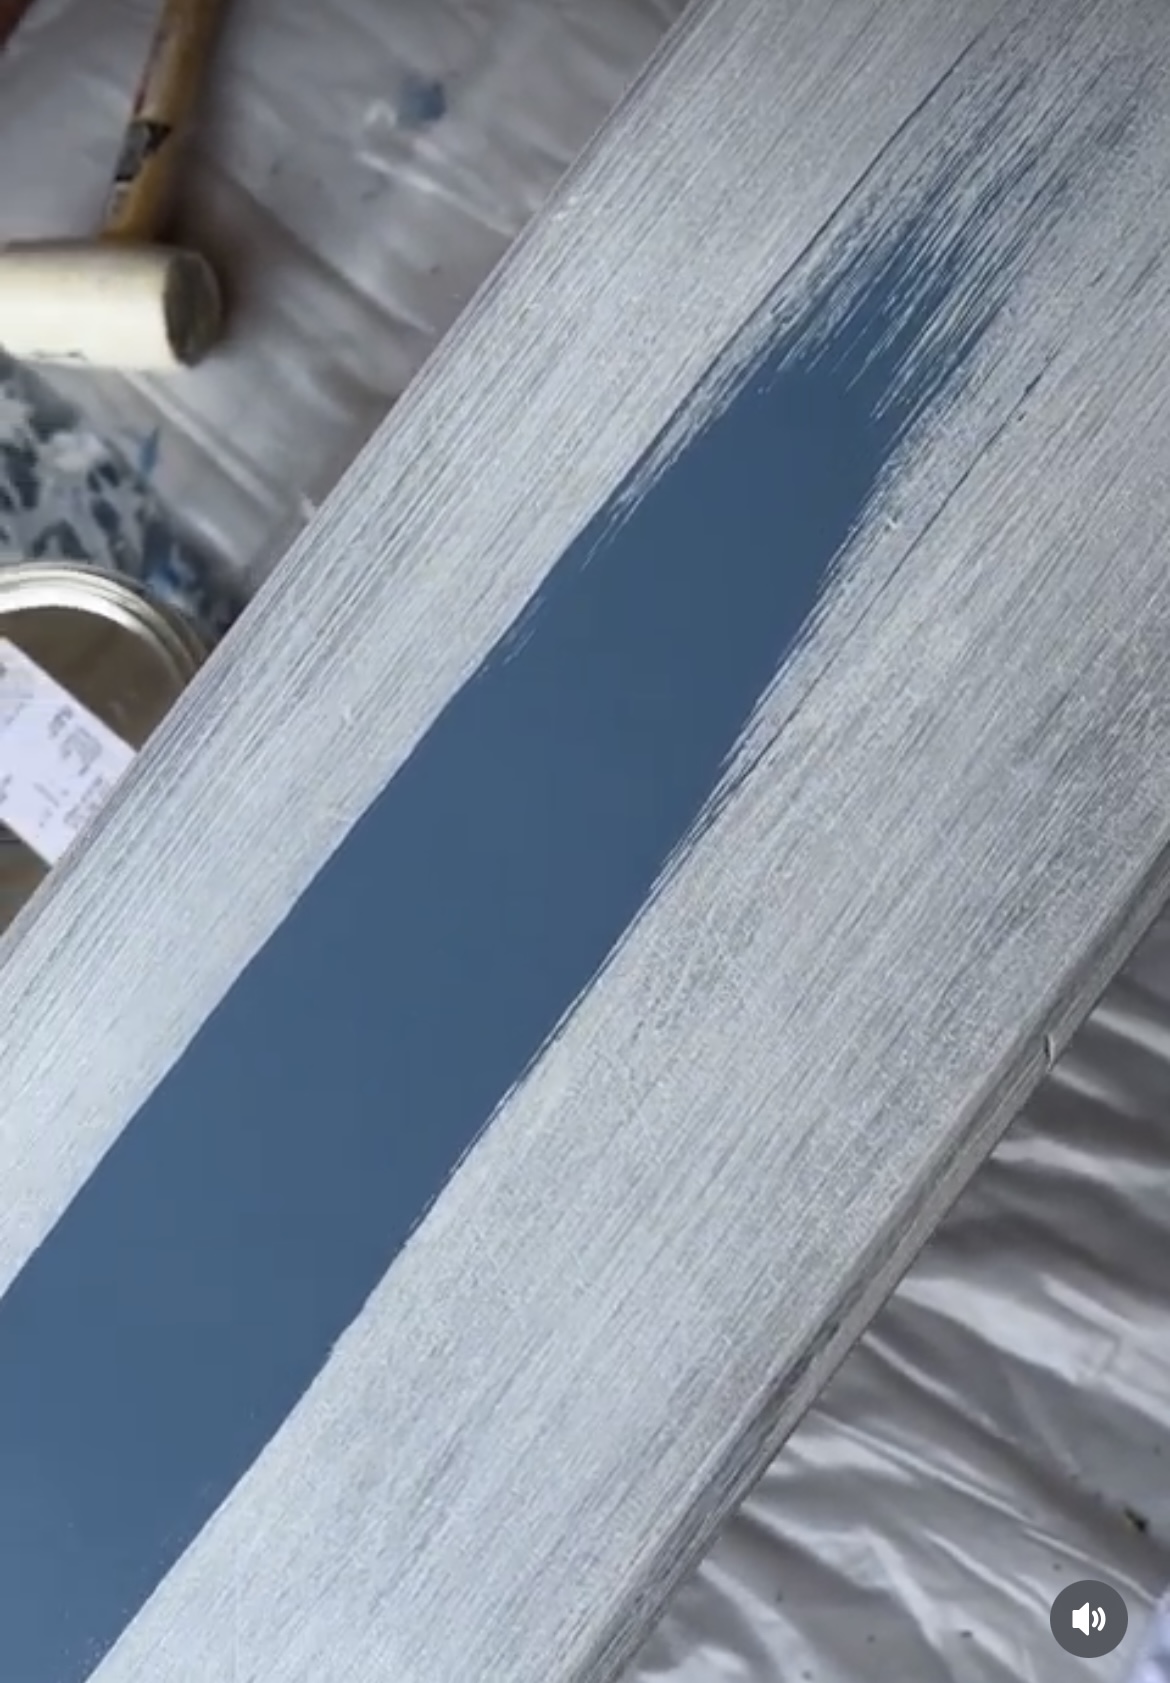
5. Prime, stain, and paint.
Now you are ready for the fun to begin! If you are staining the top of your dresser, you want to use a wood conditioner, the stain, and then the top coat or sealer. For paint, you will want to prime first, then paint. Using a primer will reduce the cost of paint and help you achieve a smooth, clean finish once it comes time to apply the paint. I like to dilute my primer just a touch and apply two layers of primer while giving a light sand in between the layers of primer.
A little paint goes a long way, and you want to avoid glopping on the paint. Use smooth, long brush strokes to achieve a smooth finish. As always, seal your stain or paint with products like polyurethane, wax, or plant-based varnish. Many sealants take up to 30 days to fully cure or harden.
Remember to follow the directions on the back of the product because drying and re-coat times will vary product by product. You want to make sure you follow the directions because…well…science. Some products have very specific instructions for the product to come out the way it was chemically designed to.

6. Now, it is time to put your furniture back together.
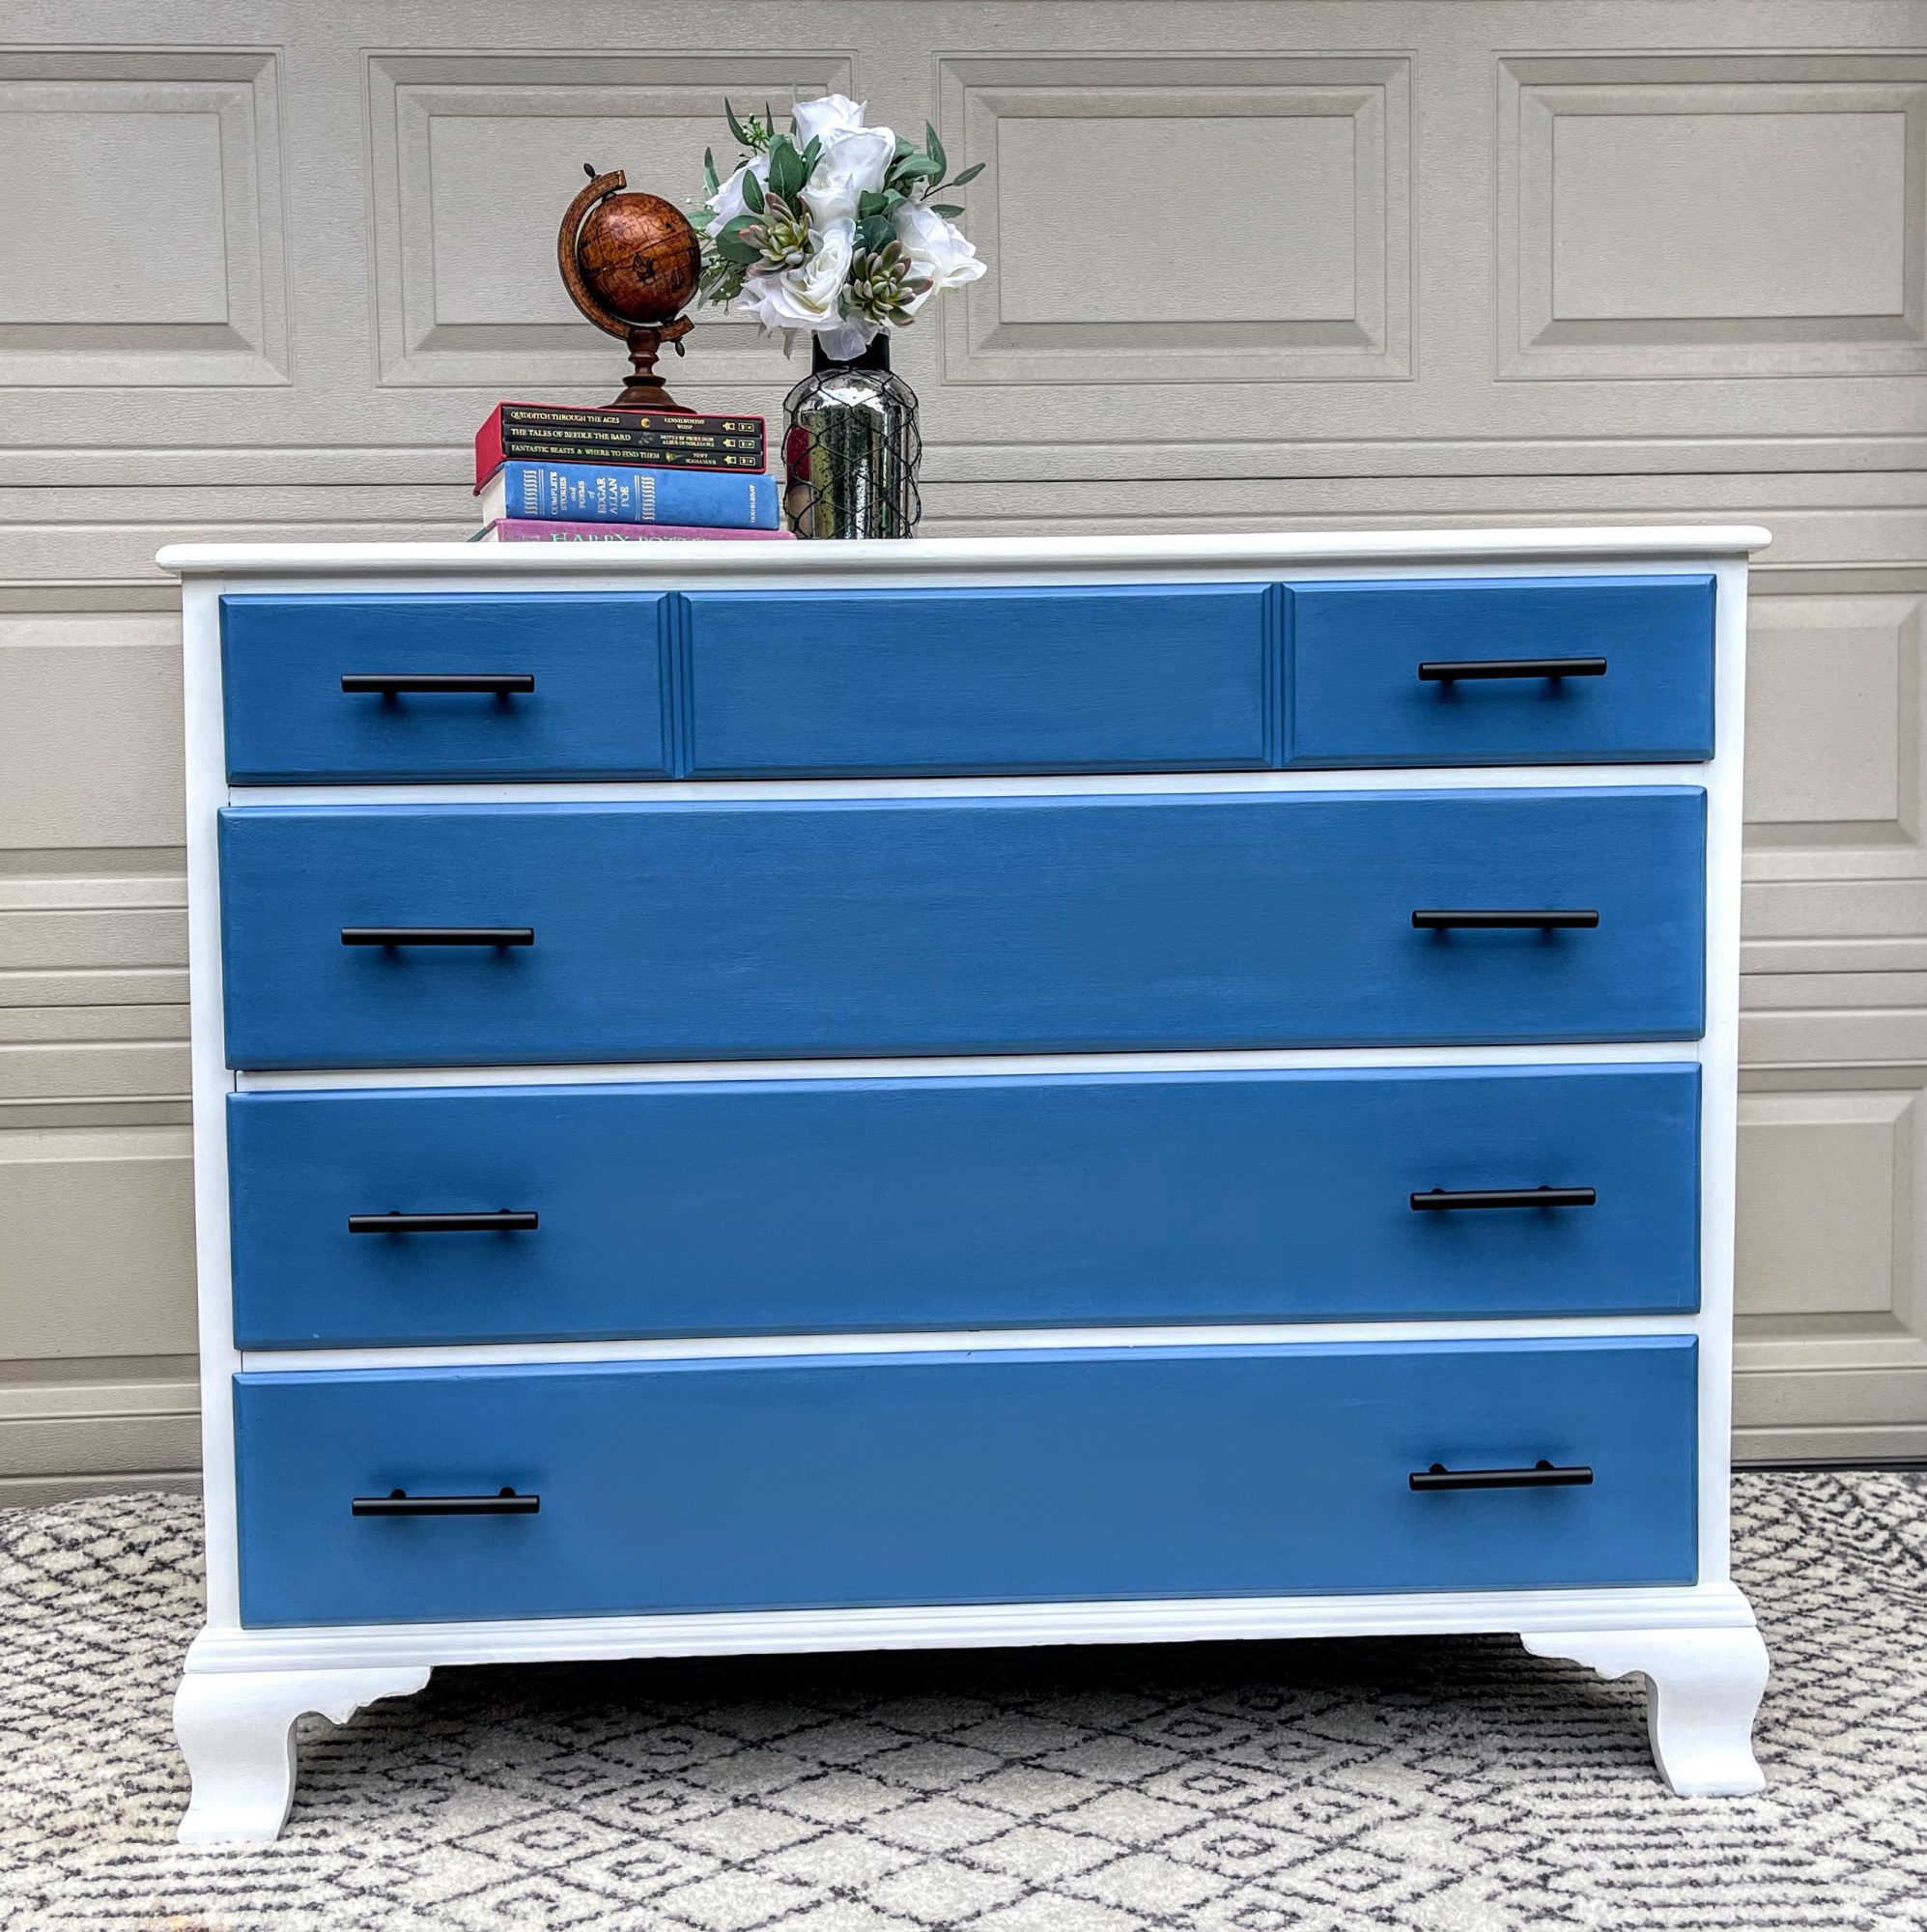
Vacuum out the baking soda if you haven’t already done so. Screw in your brand-new, newly painted, or cleaned hardware. Add those little felt pads to the bottom of the legs to prevent your new dresser from scratching your bedroom floor. You can also add drawer liners to the inside of the drawers for a nice surprise touch. Now, take some nice photos, and by all means, show it off!


Such an awesome blog! All the information provided by you is really very helpful for all. I agreed that, we should keep our project dust free with the piece of tack cloth. Everyone should follow the tips provided by you, it will make their work easier. Keep Posting! Keep Sharing!
Comments are closed.