


If your home is anything like mine, you probably have at least one plastic bag filled with snapped, stubby crayons that no one wants to use anymore.
But before you toss them out, consider them as artistic potential rather than useless clutter. Upcycling those colorful but sad scraps into fresh, vibrant creations gives them a second life. It’s a kid-friendly, eco-friendly, and budget-friendly activity that’s both creative and practical.
Why Make Homemade Crayons?
Some of the best reasons to make your own recycled crayons include:
- Reusing broken crayons and refreshing your family’s art supplies
- Creating a hands-on project that kids can help make
- Providing a screen-free indoor activity
- Customizing colors, shapes, and designs for a personalized touch
- Making thoughtful party favors, classroom gifts, Easter basket fillers, or stocking stuffers
Children especially enjoy choosing color combinations and seeing crayons melt and transform into something entirely new. The process feels like an experiment, turning a simple kitchen craft into a fun learning experience.

Supplies:
- Broken or unused crayons
- Silicone molds or muffin tins
- Baking sheet
- Optional: Knife or crayon sharpener to peel paper
Instructions:
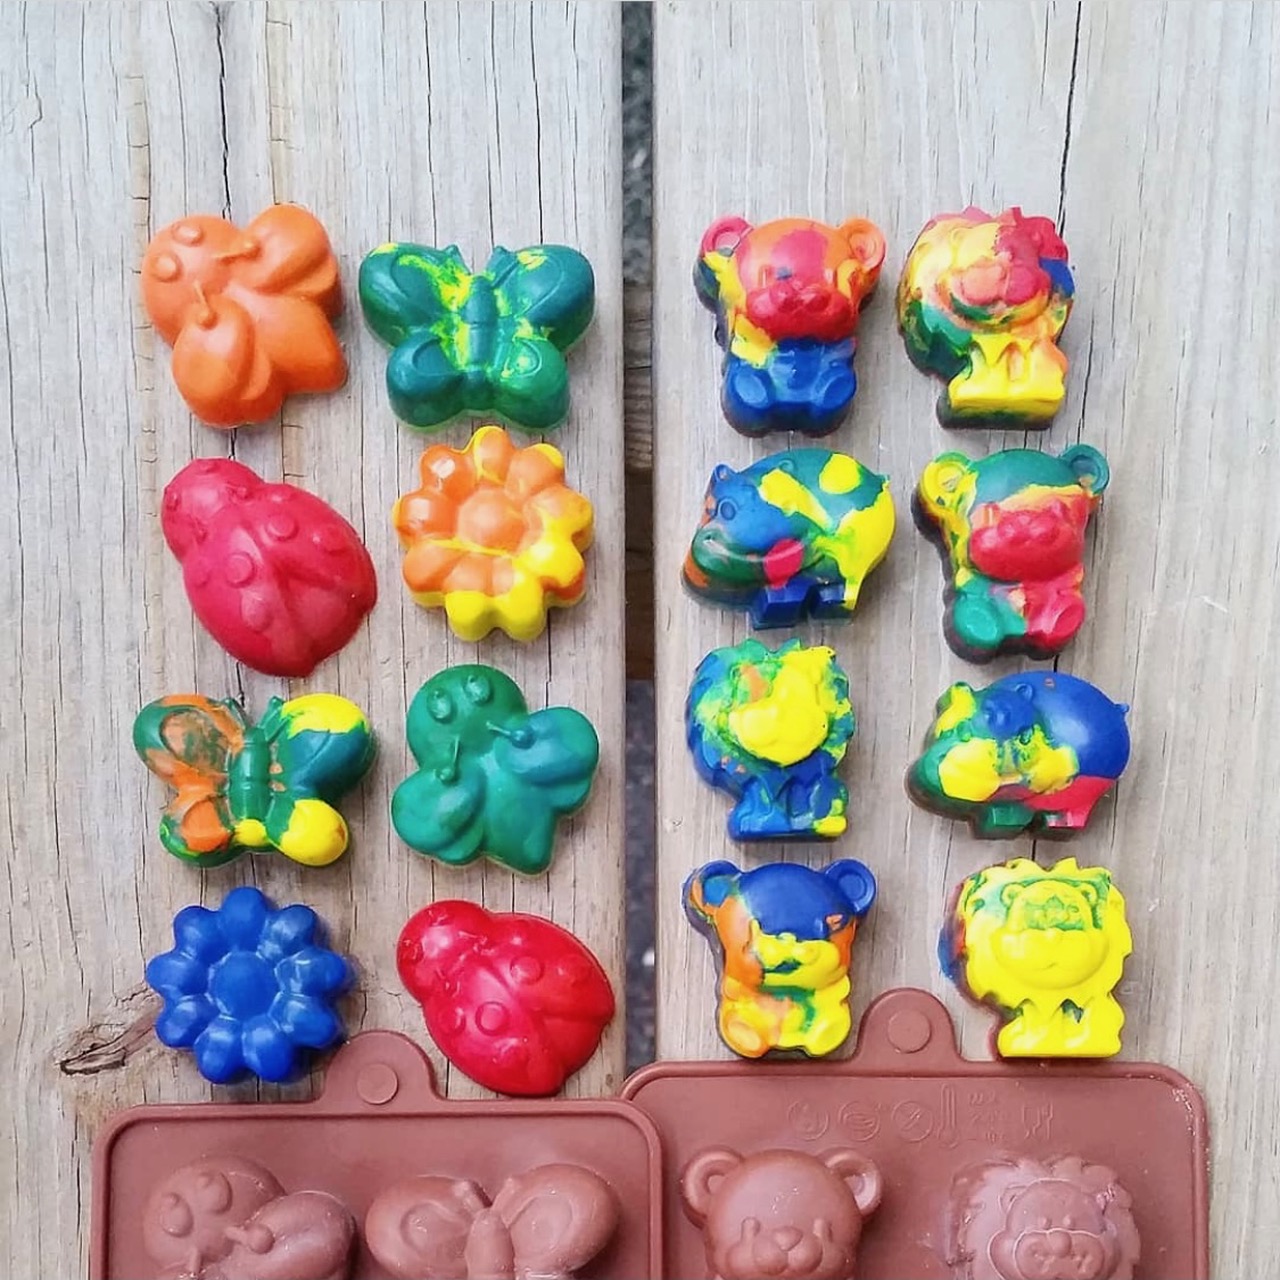
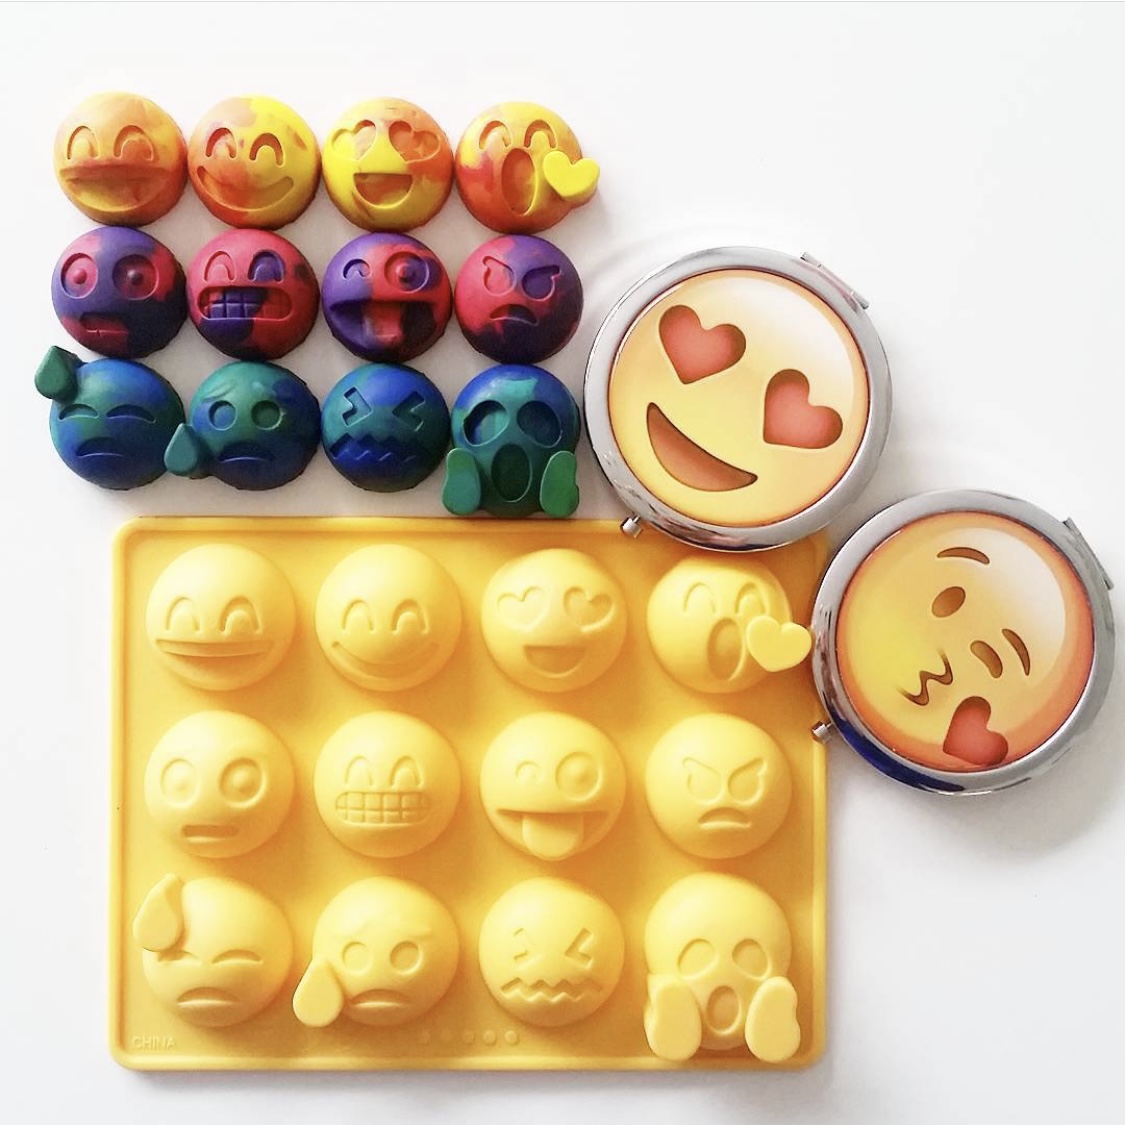
- Sort Crayons: Separate crayons by color for a more coordinated look, or mix colors for a rainbow effect.
- Remove Wrappers: Peeling wrappers takes time, but soaking crayons in warm water for a few minutes can help loosen the paper.
- Break Into Small Pieces: Smaller crayon pieces melt more evenly and fit better into the molds.
- Fill Molds: Place crayon pieces into silicone molds or muffin tins. Fill each mold slightly above the top since crayons will melt down into a smaller volume.
- Bake: Place molds on a baking sheet and bake at 250°-275°F for 10-15 minutes, or until fully melted. Avoid overheating.
- Cool Completely: Carefully remove the tray and allow crayons to cool fully before popping them out of the molds. For faster results, you can place them in the refrigerator once they’ve cooled slightly.
Ready to Recycle Your Old Crayons?
Don’t throw away those broken bits just yet. It’s easy and surprisingly satisfying to turn them into something beautiful and brand-new that’s also creative, inexpensive, and actually useful afterward.
Plus, that bag or pile of crayons can finally stop taking over the bottom of the art drawer.


